{Almost} Ten Ways to Convert to B&W for Hybrid Scrapbooking
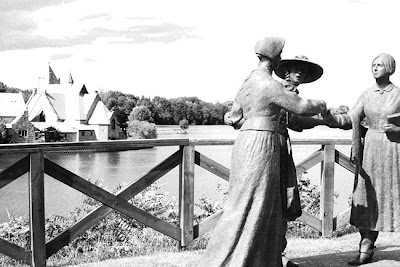
6:23 PM Posted In JA's Top Ten Lists Edit This 1 Comment »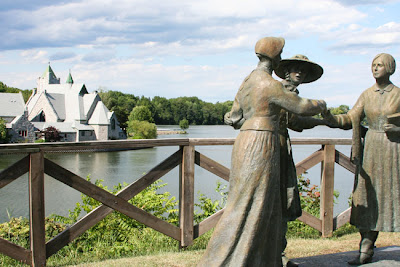 So I wanted to share some different ways to convert from color to b&w...however, I've had this post sitting here for 3 days now and I just don't have time to come up with 2 more ways to make it an even 10! So here is {almost} 10 ways to get the job done! :)
1. Option 1: Open your photograph in Photoshop Elements. Go to Enhance --> Adjust Color--> Remove Color.
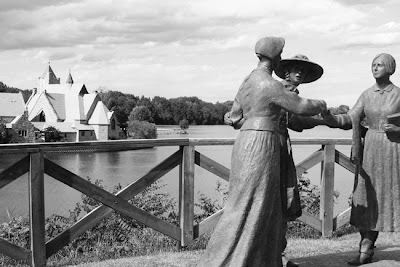
2. Option 2: Open your photograph in PSE. Go to Layer --> Adjustment Layer--> Gradient Map (choose black and white gradient)
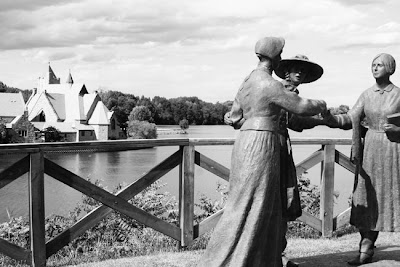
3. Option 3: Separate Image Components with this tutorial by The Hidden Power of PSE
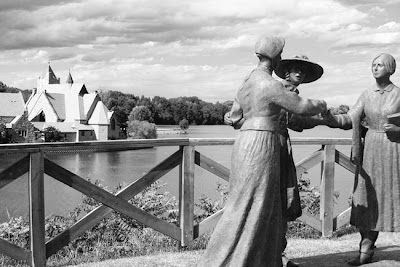
4. Virtual Photographer Classic B/W Selection
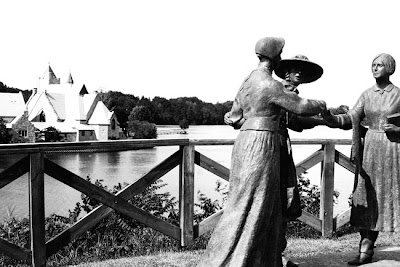
5. Holly McCaig Action for PSE
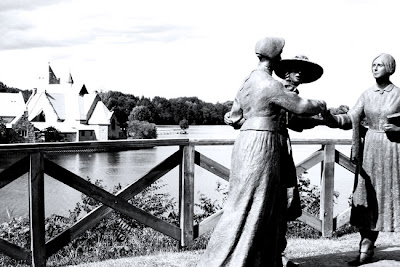
6. Poster Edges Filter plus Adjustment Layer - Gradient Map
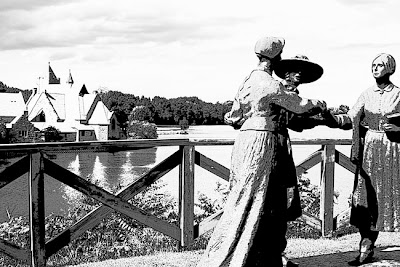
7. Option 3 plus Ink Lines Filter (Filter --> Brush Strokes -->Ink Outlines)
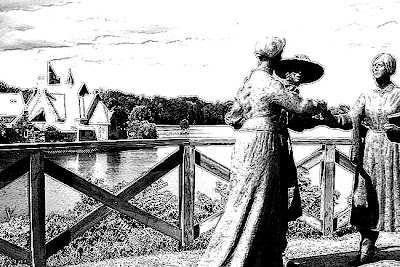
8. Virtual Photographer Paparazzi Selection


1 Share your thouughts:
Julie Ann, this is so helpful - and so much fun. Thanks for all the tips. I decided to download Virtual Photogr. because it seemed so crisp. Here's the link:http://www.optikvervelabs.com/ and it works with PS and PSE 4.0 (so therefore 5.0 as well - I don't know about older versions but it should work). If any of you decide to download this, be sure to check here for additional plug-in's: http://www.optikvervelabs.com/downloadextras.asp What I love is they show you before and after photos for each one - so I'm going to print/save them. BTW, in Option 3 that you listed for another B/W conversion, I think there's one more step that's missing because when I go to PSE 4, and follow the steps of: Layer/New Adustment Layer/Gradient Map.... it gives me a lot of choices but none that say B/W. I played with it a while and got more "gradient" effects as opposed to B/W (I'm a beginner - couldn't figure it out). But LOVE all your help, so thought you should know. xo Colleen
Post a Comment